
To make a personalized storybook with photos, choose one person and one small story, sketch a beginning, a problem, a change, and an ending, then gather a few clear reference photos. Generate or assemble a draft only after that. Review every line and illustration before you print or share it.
The photo makes the hero recognizable. The details make the book personal. A yellow backpack, the squeak of a garden gate, or a grandparent's habit of hiding biscuits in the blue tin will do more for the story than a long list of adjectives.
If you are still choosing the format, compare a photo book, memory book, and personalized storybook before you begin.
How to Make a Personalized Storybook With Photos

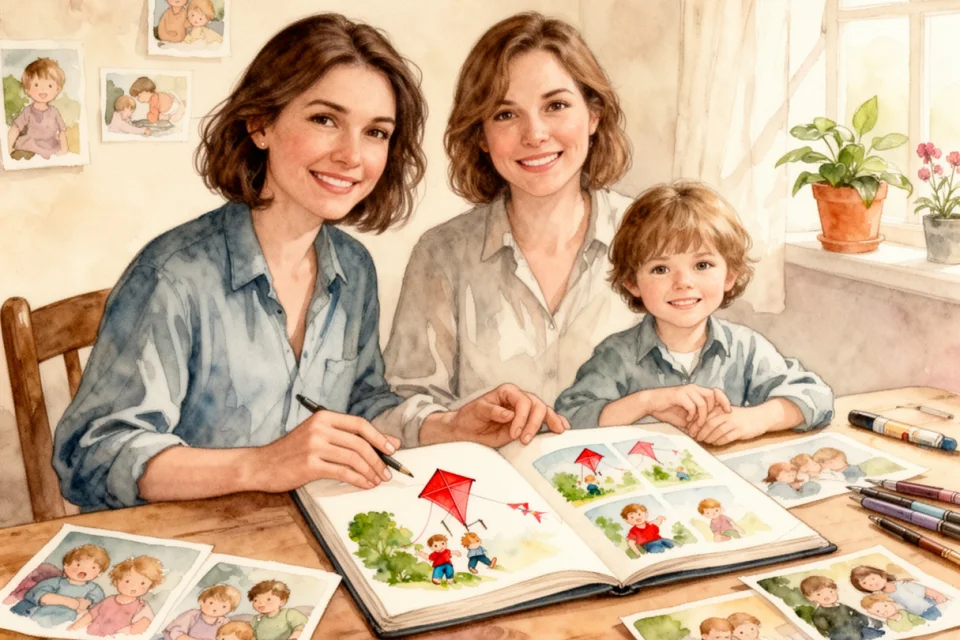
To make a personalized storybook with photos, choose one person and one small story, sketch a beginning, a problem, a change, and an ending, then gather a few clear reference photos. Generate or assemble a draft only after that. Review every line and illustration before you print or share it.
The photo makes the hero recognizable. The details make the book personal. A yellow backpack, the squeak of a garden gate, or a grandparent's habit of hiding biscuits in the blue tin will do more for the story than a long list of adjectives.
If you are still choosing the format, compare a photo book, memory book, and personalized storybook before you begin.
The short version
| Step | What to decide | What you should have afterward |
|---|---|---|
| 1 | Reader and occasion | One sentence about who the book is for |
| 2 | Memory or story seed | One moment worth building around |
| 3 | Plot | Four beats: beginning, problem, change, ending |
| 4 | Photos and brief | Clear character images plus the details the draft must keep |
| 5 | Draft and text review | A story that works when read aloud |
| 6 | Illustration review | Approved faces, objects, and page-to-page continuity |
| 7 | Permission and preservation | Agreement on use, plus a safe copy of the source material |
1. Decide who the book is really for
Start with the reader, not the software. A bedtime story for a four-year-old needs a different pace from a family keepsake for a grandparent. If you are writing about a move, the moving house storybook guide shows how familiar objects and an honest first night can shape the ending.
Write one sentence:
This book is for ___, and I want them to feel ___ when we reach the last page.
"This book is for Lina, and I want her to feel excited about becoming a big sister" can guide a plot. "A magical book for Lina" cannot.
For that specific family change, the personalized big sibling book guide shows how to keep the older child at the center without hiding the demands of a new baby.
2. Find one story instead of covering a whole life
A camera roll encourages you to include everything. Resist it. A story about one rainy walk can feel more personal than a summary of seven family holidays.
If the book comes from a real memory, ask the people involved what they remember before you write. The Smithsonian's oral-history guidance recommends open questions, careful listening, and photographs as prompts. Try:
- What happened just before this photo?
- What part of that day still makes you laugh?
- What did the place sound or smell like?
- What do you remember that the camera missed?
Follow the unexpected detail. If the person remembers the broken umbrella rather than the view, the umbrella may be the story.
An invented adventure still benefits from one real anchor: the child's dog, a familiar bus stop, or the pancakes someone always burns on Sunday. The plot can visit the moon; its emotional footing should remain close to home.
3. Build a four-beat plot
You do not need a manuscript. You do need a shape.
- Begin with the person in a recognizable ordinary moment.
- Give them something to find, fix, understand, or face.
- Let their choice move the story forward.
- End somewhere emotionally different from where they began.
Here is a workable example:
| Beat | Family detail | Story scene |
|---|---|---|
| Beginning | Eli flies a red kite with Grandad | They take the kite to the hill after lunch |
| Problem | The string snaps | The kite disappears beyond the old orchard |
| Change | Eli remembers Grandad's map-reading trick | They follow landmarks and ask the crows for clues |
| Ending | They find the kite in the apple tree | Eli draws his own map and tucks it into Grandad's coat |
If you want to write more of the text yourself, the guide to writing a children's book story covers pacing, age, and active child protagonists in more detail.
4. Choose photos and write the brief
Reference photos show what each character looks like. Pick clear, recent images with soft light, visible eyes, and more than one angle. Give every main character their own small set rather than relying on a crowded group photo.
Keep sentimental pictures nearby for story ideas. The fuzzy campsite photo may remind you of the missing tent peg, while a sharper portrait shows what the person looks like.
The complete AI storybook photo checklist covers lighting, expressions, older photographs, pets, and group shots.
Now put the story details in one place. Include:
- The reader's age and the approximate reading level
- Each character's name and relationship to the reader
- The four plot beats
- The setting and desired mood
- Two or three real details that must appear
- Anything the story should avoid
- The ending you want
Be concrete. "Warm and adventurous" could describe thousands of books. "A gentle treasure hunt in Grandad's allotment, with the red watering can and no frightening villains" gives the draft somewhere to go.
Do not overload the book with biography. A child's favorite color, six hobbies, several relatives, a pet, and a moral will compete for space. Choose what this story needs.
5. Choose a tool, generate a draft, then read it aloud
Fast generation is convenient, but editing control matters more once a real person's face and family story are involved. Before uploading photos, check:
- Whether you can edit the text after generation
- Whether individual illustrations can be replaced
- Whether you can preview or choose an illustration style before generation
- How the service handles uploaded photos and deletion requests
- Whether drafts are private or public by default
- Which digital and printed formats are available
- What you will pay before the final book is delivered
Look for direct answers in the service's privacy policy, terms, help pages, and checkout. Then generate one complete draft and read it from beginning to end before fixing individual sentences.
If you are comparing services, use the AI storybook maker checklist to test personalization, editing, privacy, previews, print options, and the final delivered price.
Does the story begin promptly? Does the main character make a meaningful choice? Does the ending solve the problem the opening created?
Read it aloud next. Awkward sentences reveal themselves quickly. Shorten any line that makes you run out of breath. Remove explanations the picture already provides. Keep a child's real phrase if it sounds like them, even when an adult could make it neater.
Watch for the tidy moral that sometimes appears in generated stories. If the final paragraph explains exactly what everyone learned, try deleting it. A repaired kite, a shared joke, or a child taking the next step can carry the ending on its own.
6. Inspect every illustration
Do not approve images as thumbnails. Open each page and look at the recurring details.
Check faces, hands, glasses, hair, pets, and important objects. Make sure the character does not change age or clothing without a reason. Look for broken text in the background. Compare adjacent pages so a red kite does not become blue halfway through the chase.
Does the picture tell the same story as the text? A beautiful image can still be wrong if it shows the hero receiving help while the sentence says they solved the problem alone.
Replace weak pages. The first generated version is a draft, not a test you have to pass.
7. Ask permission and keep the source material
Tell each person how their photograph, voice, or memory will be used. The Smithsonian recommends explaining the purpose of a recorded interview and letting the interviewee decline questions or stop the recording. A family project can use the same courtesy without becoming formal.
Children deserve a say too. UNICEF recommends involving them in sharing decisions when they can express a view, considering the audience, and avoiding details such as locations or school identifiers. Permission to make a private book is not permission to post its pages publicly.
For an AI service, review its privacy and deletion terms before uploading. Remove location data or unnecessary background details from copies when practical. Do not include another family's child without their parent or guardian agreeing.
Save the original photos, interview audio, notes, and final text separately from the storybook platform. Use filenames you can understand later, and keep another copy in a different safe location.
The Library of Congress recommends adding descriptions to digital photos and making copies when preserving family material. A printed storybook is lovely to hold, but it should not become the only surviving copy of the memory behind it.
Add a short note at the end of the book with names, place, and year. Future readers will be glad you did.
Where Storique fits
Storique can turn reference photos and a story idea into a personalized illustrated book that you review before ordering. Start after you have the reader, four-beat plot, and must-keep details ready.
You can see the creation flow in the step-by-step guide, check pricing, or start a storybook when your brief and photos are prepared.
Frequently asked questions
How many photos do I need for a personalized storybook?
There is no universal number. A small set of clear photos from different angles is more useful than a large batch of dark or repetitive images. Follow the service's upload guidance, but choose quality and variety first.
Do I have to write the whole story myself?
No. A four-beat outline and a specific brief are enough for many storybook tools. You should still read and edit the generated draft so the language, events, and ending belong to the person receiving it.
Can I make a storybook from old family photos?
Yes. Keep the character's age consistent within each part of the story, and label people or dates while someone can still confirm them. Use sharper images as visual references when the most meaningful old photos are damaged or unclear.
Can a personalized photo storybook include several people?
It can, but every additional main character makes the plot and illustrations harder to follow. Start with one central person. Give each photo-based character separate reference images.
What should I check before uploading a child's photo?
Check who can see the draft, how the service uses and stores uploads, whether deletion is available, and whether generated pages are public by default. Ask the child for their view when appropriate, avoid unnecessary identifying details, and get permission before including anyone outside your immediate family.
Sources
- How to Do Oral History, Smithsonian Institution Archives
- The Smithsonian Folklife and Oral History Interviewing Guide, Smithsonian Center for Folklife and Cultural Heritage
- What you need to know about sharenting, UNICEF Parenting
- Four Easy Tips for Preserving Your Digital Photographs, Library of Congress
A little story magic, delivered.
New free stories, thoughtful gift ideas, and occasional Storique news — one lovely email at a time.
- Free stories
- Gift ideas
- Storique news